
Assumption
- You have completed the “Getting Started with Invoice 360 Enterprise” tutorial.
- You have two or more Windows 10 devices connected via a private network or subnet.
- You have installed Invoice 360 Enterprise Cloud Sync Server on one PC/device and Invoice 360 Client on another PC/device.
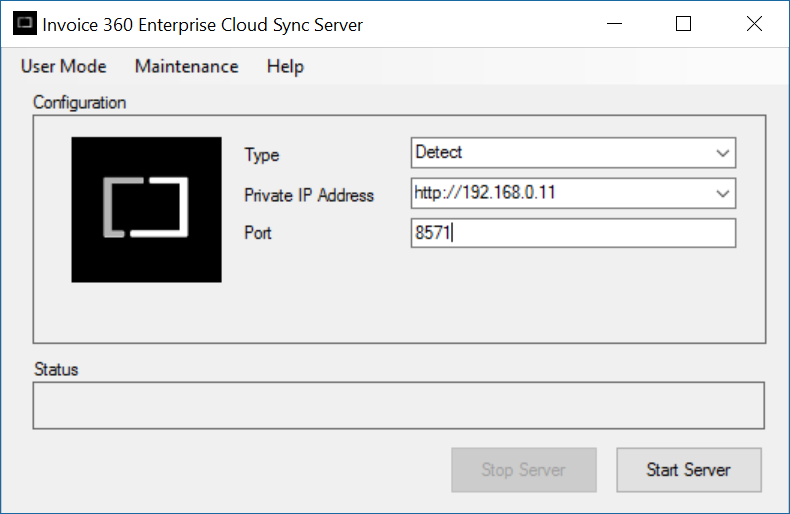
1. On the PC/device that you have installed the Invoice 360 Enterprise Cloud Sync Server, Right Click on the Invoice 360 Enterprise Server and select "Run as Administrator".
2. Select "Detect" in "Type". Invoice 360 Enterprise Cloud Sync Server will automatically detect your private IP addresses. Select your IP Address and then click on "Start Server". Note that we have selected to start the Server on a IP address instead of “localhost” as illustrtated in the “Getting Started with Invoice 360 Enterprise” tutorial. This allows client apps running on other PCs/devices to connect to this server with the specified IP address and port number.
You can also choose to select the "All" option in "Type" to allow both remote and local clients (on the same device as the server) to connect to the Enterprise Server.
Start the Invoice 360 Client app
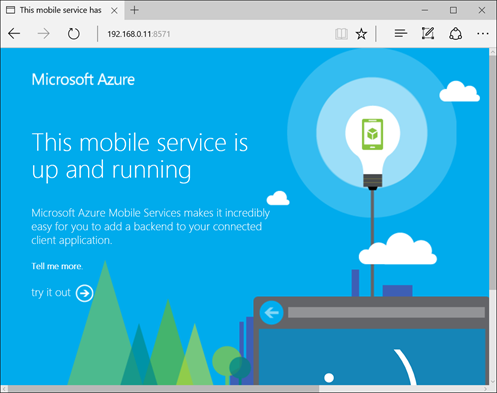
1. Before setting up the client app, we would like to test that your previous steps were carried out successfully. On the device that you intend to run the remote Invoice 360 Client app, launch Microsoft Edge. Enter the IP address and port number of your Enterprise Cloud Sync server in the format below:
“http://<enterprisecloudsyncserveripaddress:port>”
e.g. in our previous section, our IP address is “192.168.0.11” with a port number “8571”.
“http://192.168.0.11:8571”
Please ensure that you see the following screen. If not, please check that your Enterprise Cloud Sync Server is running.
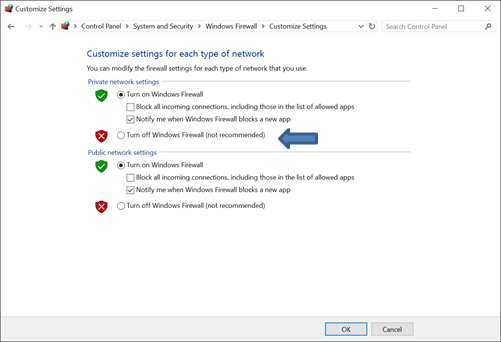
If you cannot see the screen above, the Windows Firewall running on the PC/device with the Enterprise Cloud Sync Server may be blocking the connection. You can turn off the firewall temporarily to test out whether this is the case. Please note the necessary firewall policy is automatically enabled by the installer during installation and the following step is usually not required.
Optional
On the PC/device running your Enterprise Cloud Sync Server, launch “Windows Firewall” from the search bar (or Cortana Ask Me Anything) and click on “Turn Windows Firewall on or off”. In the “Private network settings”, select “Turn off Windows Firewall”. Please make sure that you are turning off the Firewall for your private network only. You can use Microsoft Edge to connect to the Server again after turning off the firewall.
If you are still unable to connect after turning off the Firewall, you can check out our FAQ on creating a Windows Homegroup.
2. Launch the Invoice 360 Client app. When prompted to bootstrap from a local server or remote server, select “Setup”.
3. Enter the URL of your Enterprise Cloud Sync Server. This is the private IP address of the server followed by the port number. The URL is also displayed on your Enterprise Cloud Sync Server when it is started. For example, http://192.168.0.11:8571 or something similar. Click on the “Proceed” button and the client will bootstrap itself with the server.
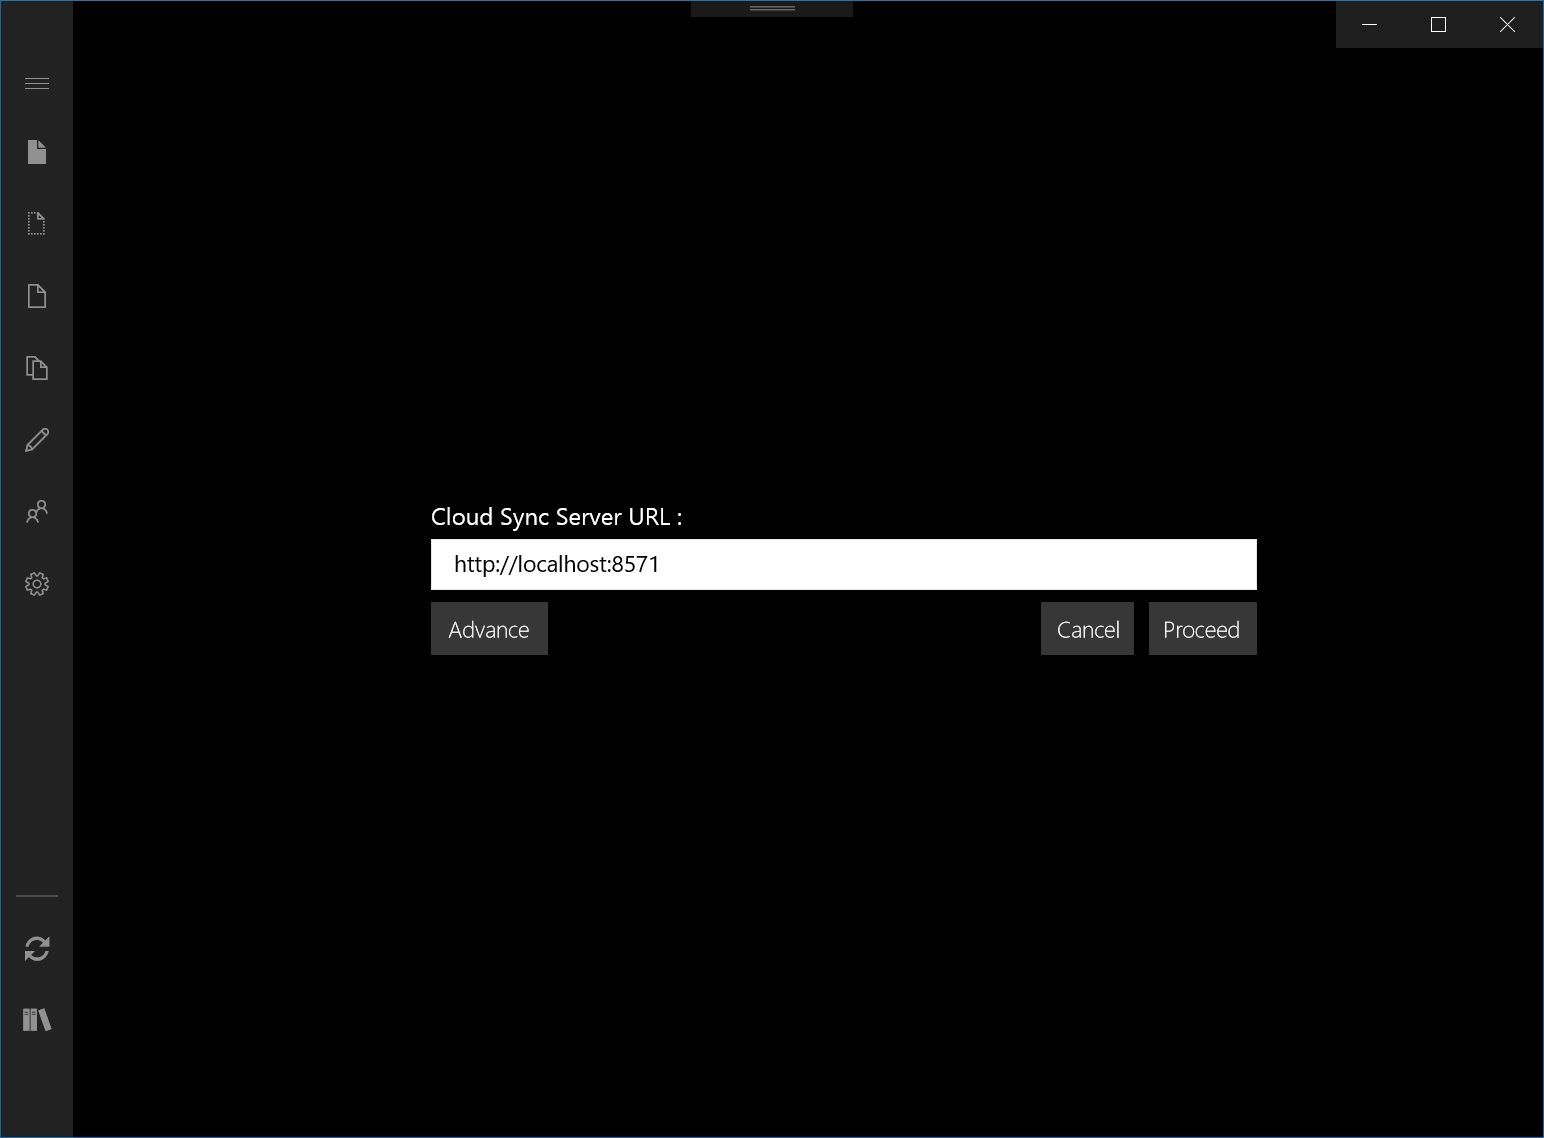
If you see the following screen, you are ready to start using the Invoice 360 Client app.
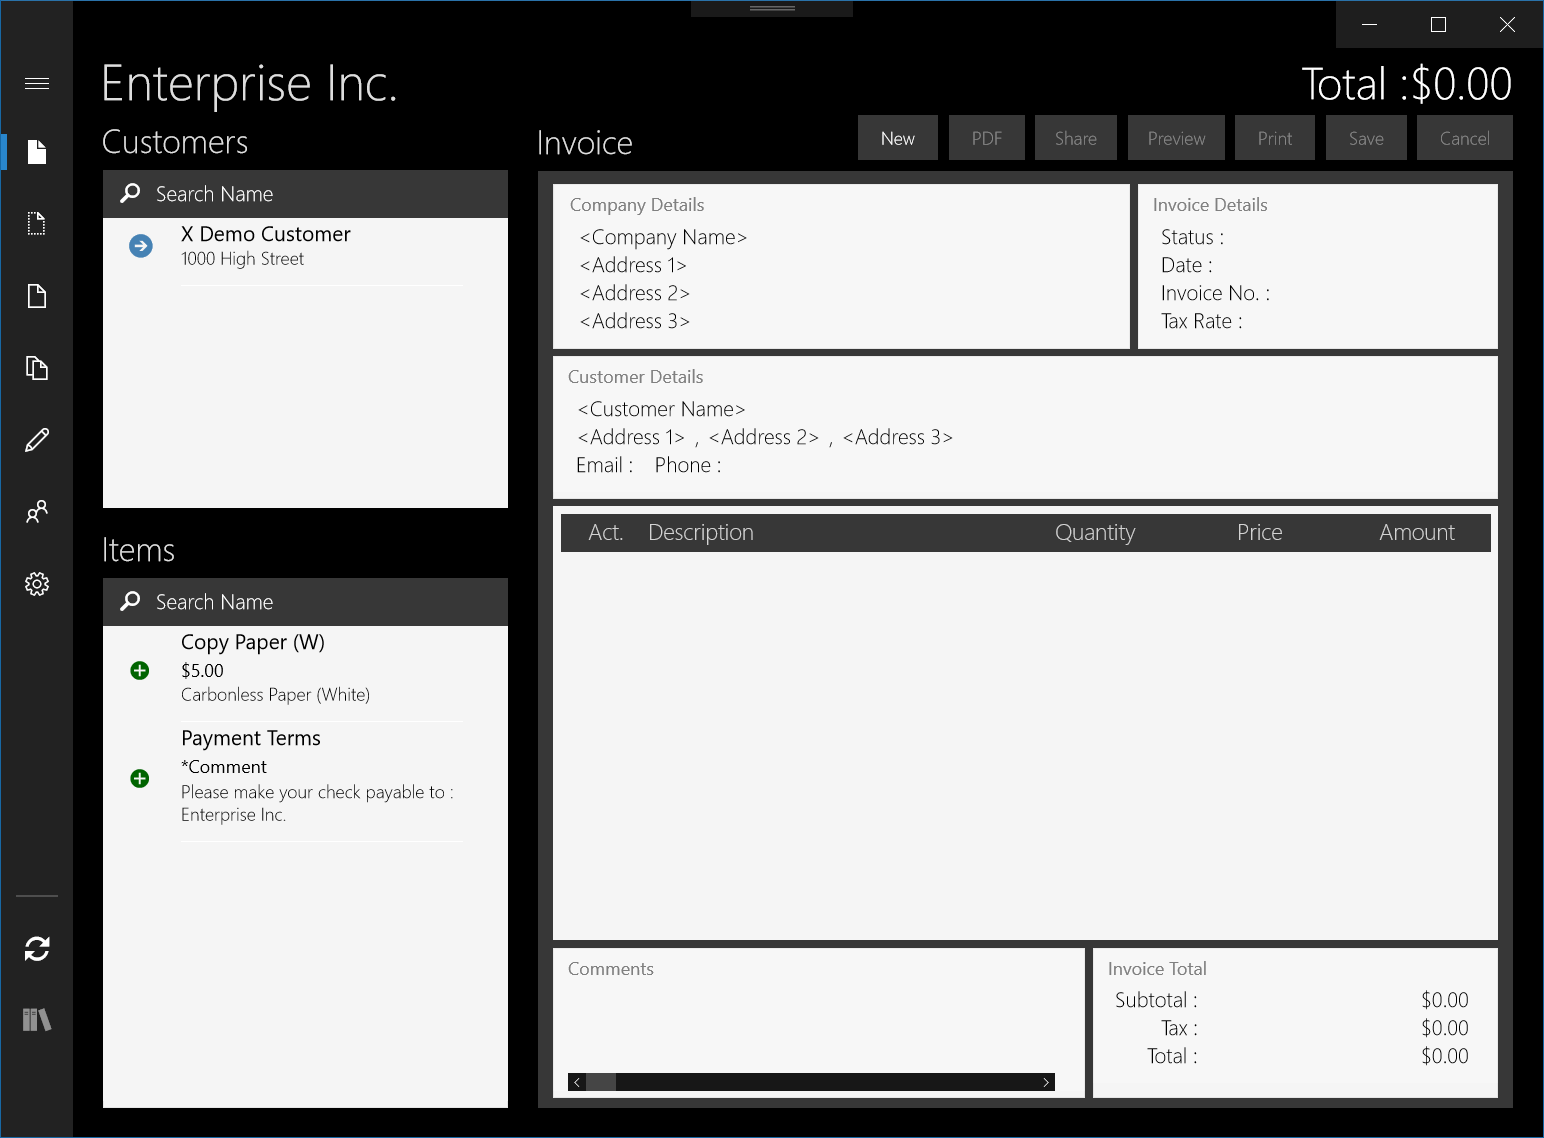
You have now successfully bootstrap an Invoice 360 Client app on a remote PC/device. You can use this PC/device to invoice your customer. If the Enterprise Cloud Sync Server is available, your changes to your app will be automatically sync with the server. If you are not connected to your private network or if your server is not available, the app will continue to work but the changes will not be saved to the server. You can also tap on the Sync button in the app bar (right click on the screen) to manually trigger the syncing process.
Note
Please remember to turn on the firewall if you have turn it off previously. The next section illustrates how to enable inbound connections to the Enterprise Cloud Sync Server by adding a firewall policy.