- Generate Customer Statement (Customer List CSV) in Invoice 360 (v3.8 or onwards)
- Print the CSV File as labels in Barcode & Label (v3.8 or onwards)
About Barcode & Label
Barcode & Label is a label design and barcode printing app for Windows that works hand in hand with Invoice 360. The app's simple WYSIWYG (What-You-See-Is-What-You-Get) user interface enables you to design Address Labels, Inventory Tags, Price Labels and Business Name Cards quickly and easily. The app is bundled with over 900 industry label stock templates and 150 clip arts, and generates commonly used barcodes via font technology.
Tutorial on Printing Mailing Labels
1. Launch Invoice 360, go to the Customers screen and click on "Generate Statements->Customer List". Select a folder to save the Customer List.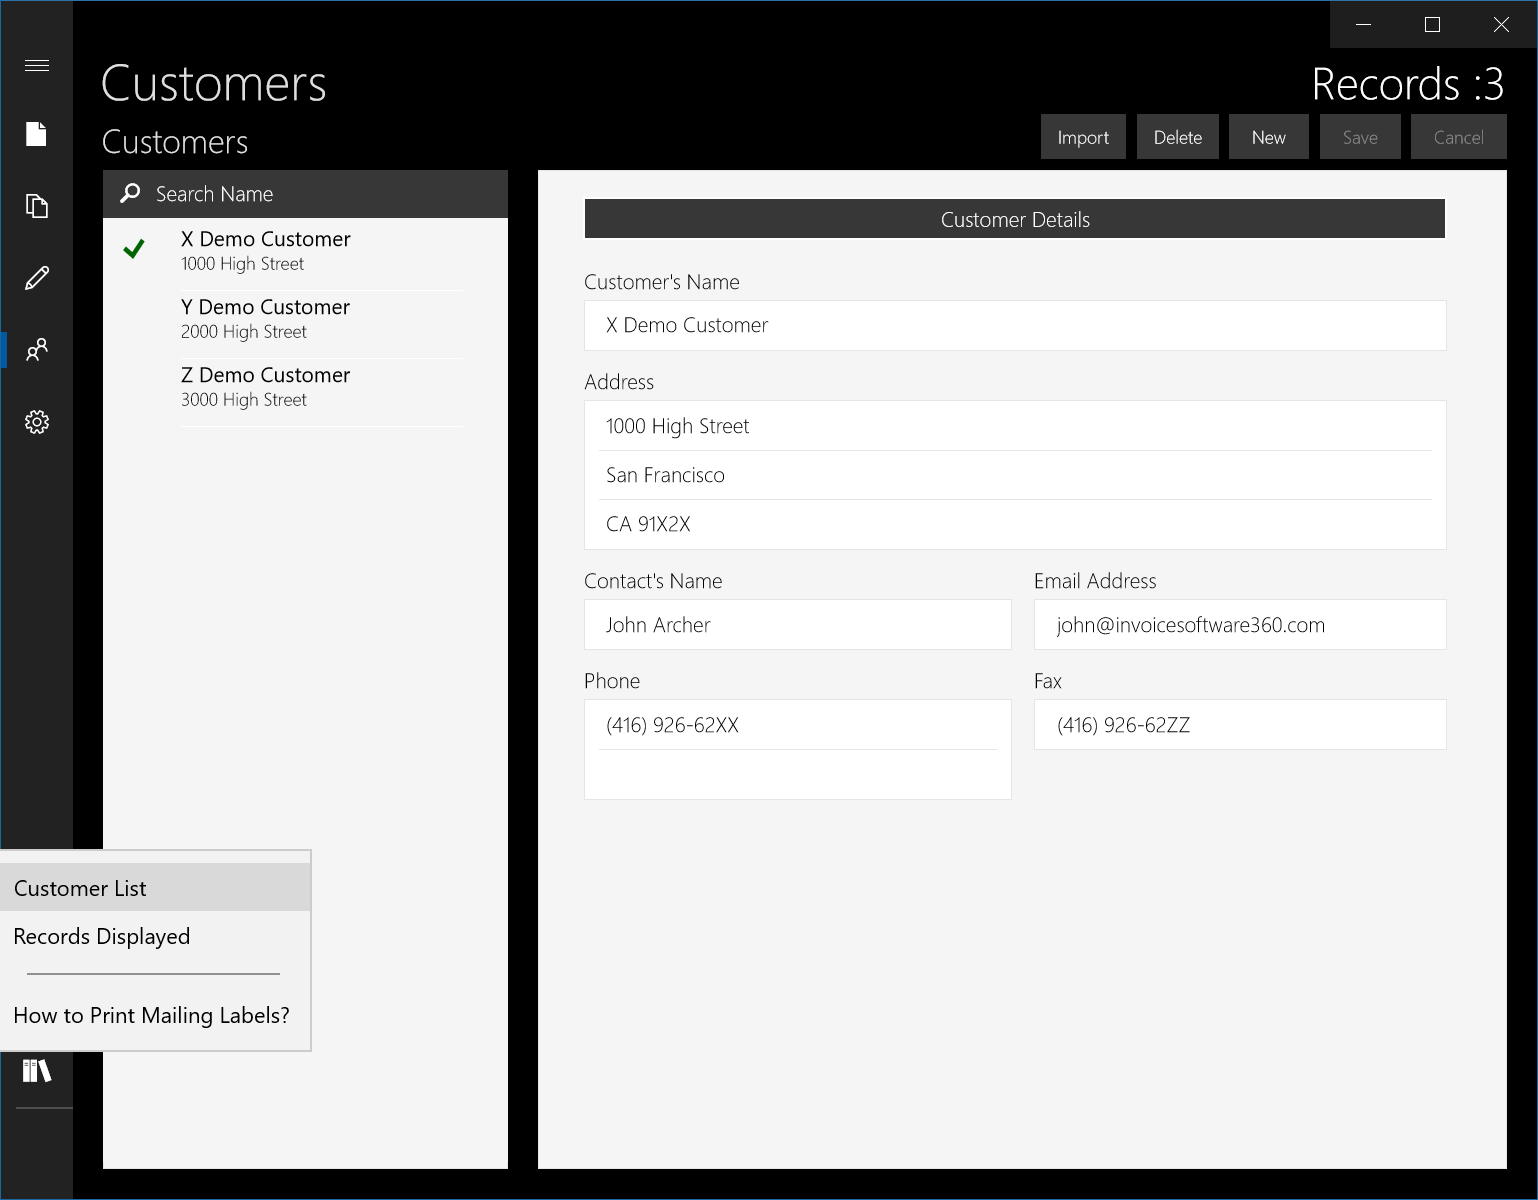
Invoice 360 will export the customers in a CSV format as shown below. The CSV file is ready for use by Barcode & Label. You can edit the file, using Notepad, to add or remove customer's data.
- Customer's Name
- Contact's Name
- Address 1
- Address 2
- Address 3
- Phone 1
- Phone 2
- Fax 1
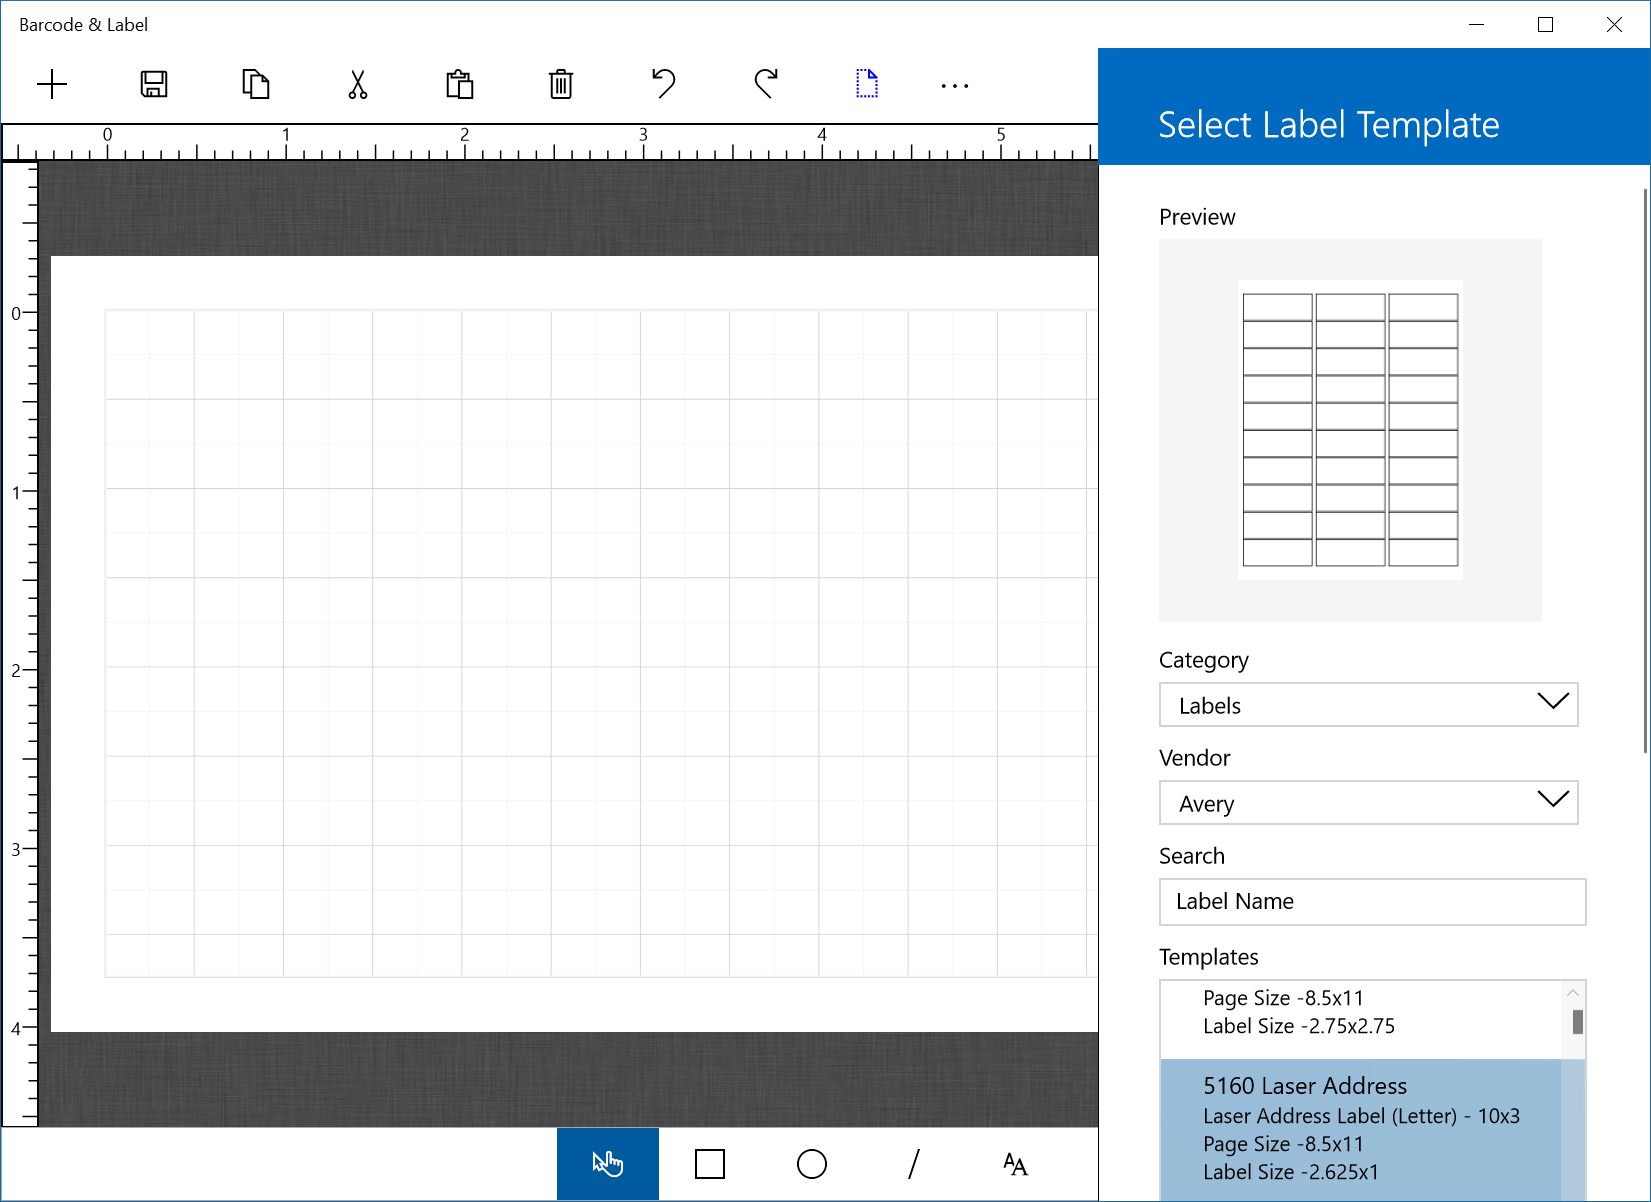
3. Select "Avery" as the "Vendor" and the "5160 Label Address" in "Templates". Click on the "Next" button when you are ready. You can select any other label template from the database or even customize your own.
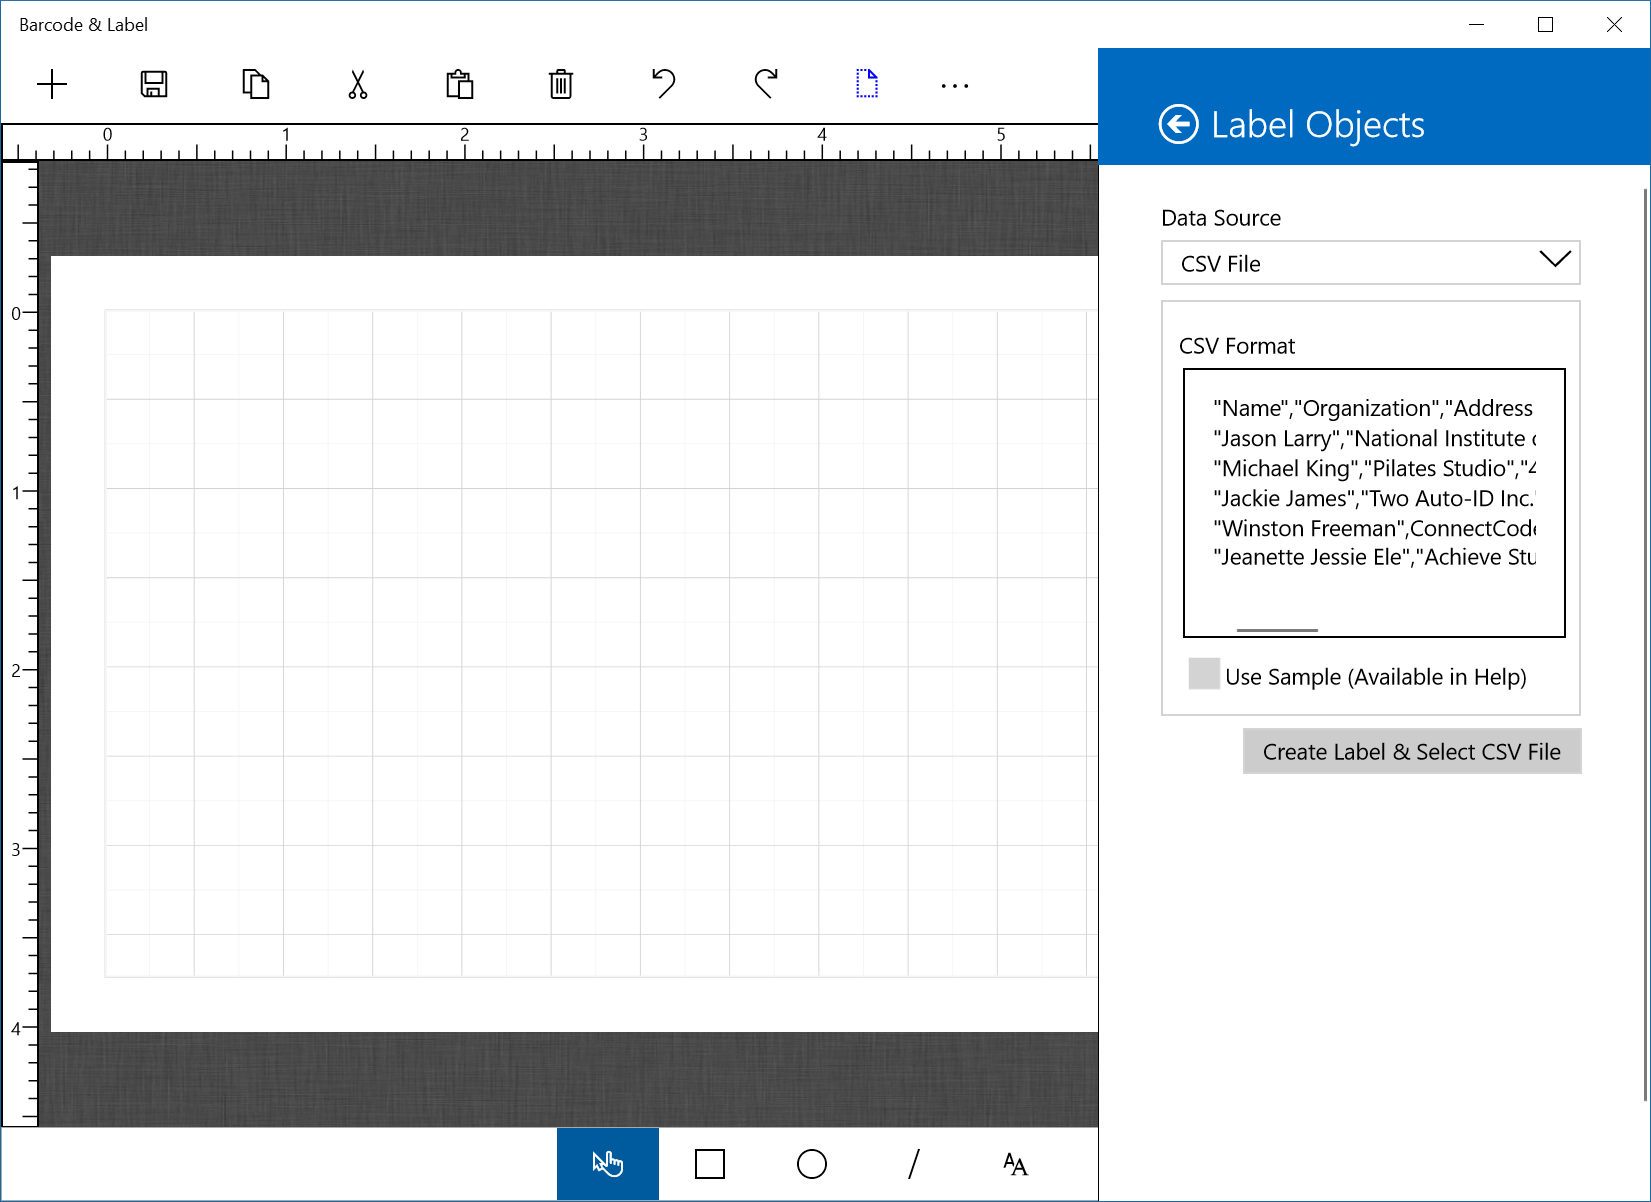
4. In "Label Objects", select "CSV File" as the "Data Source" and ensure "Use Sample" is not checked. Tap on the "Create Label & Select CSV File" button.
5. You will be prompted to select a CSV File. Navigate to the folder that you have chosen in Step 1 and select the CustomerList.csv File. Barcode & Label will import the CSV File and automatically generate 5 Text objects that correspond to the first 5 columns of the CSV File. This is illustrated in the screenshot below. You can easily add additional columns by adding a Text object and then changing the "Type" property to "CSV Column".
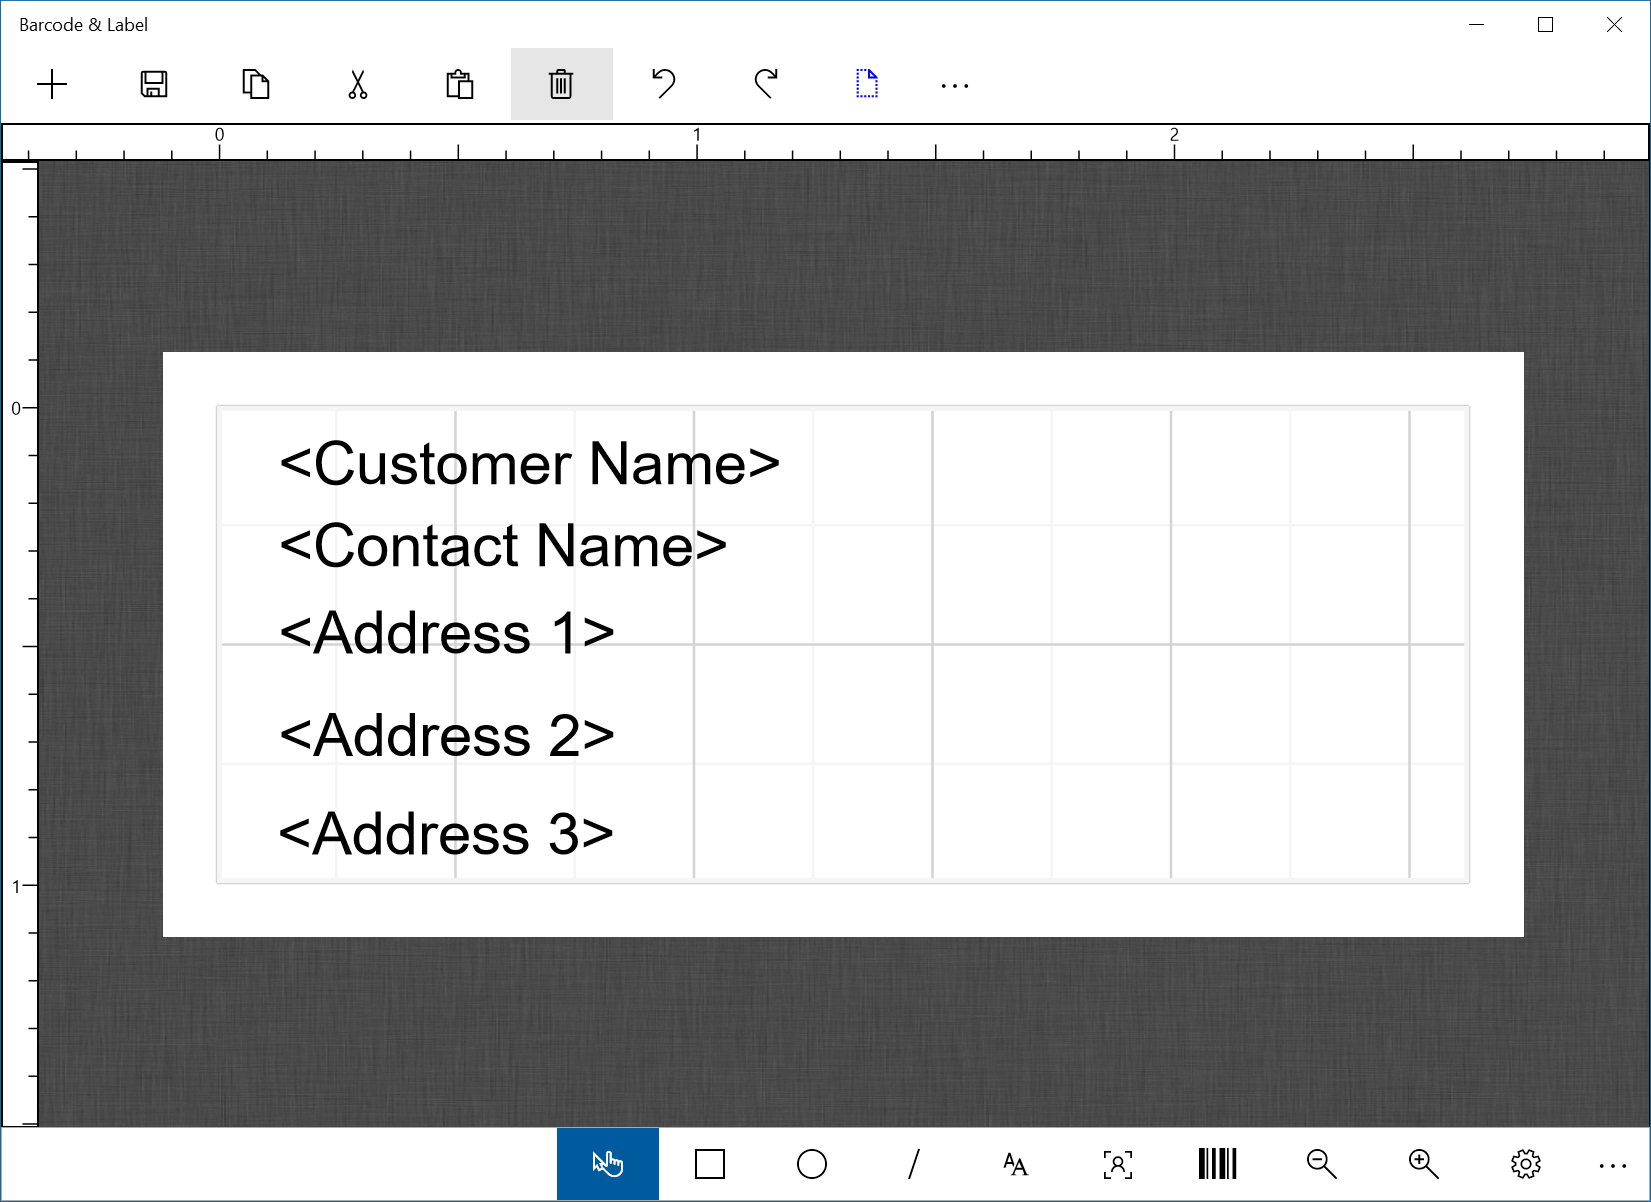
6. You can print the labels by clicking on the "Preview" button (blue button) on the top right corner of the app.
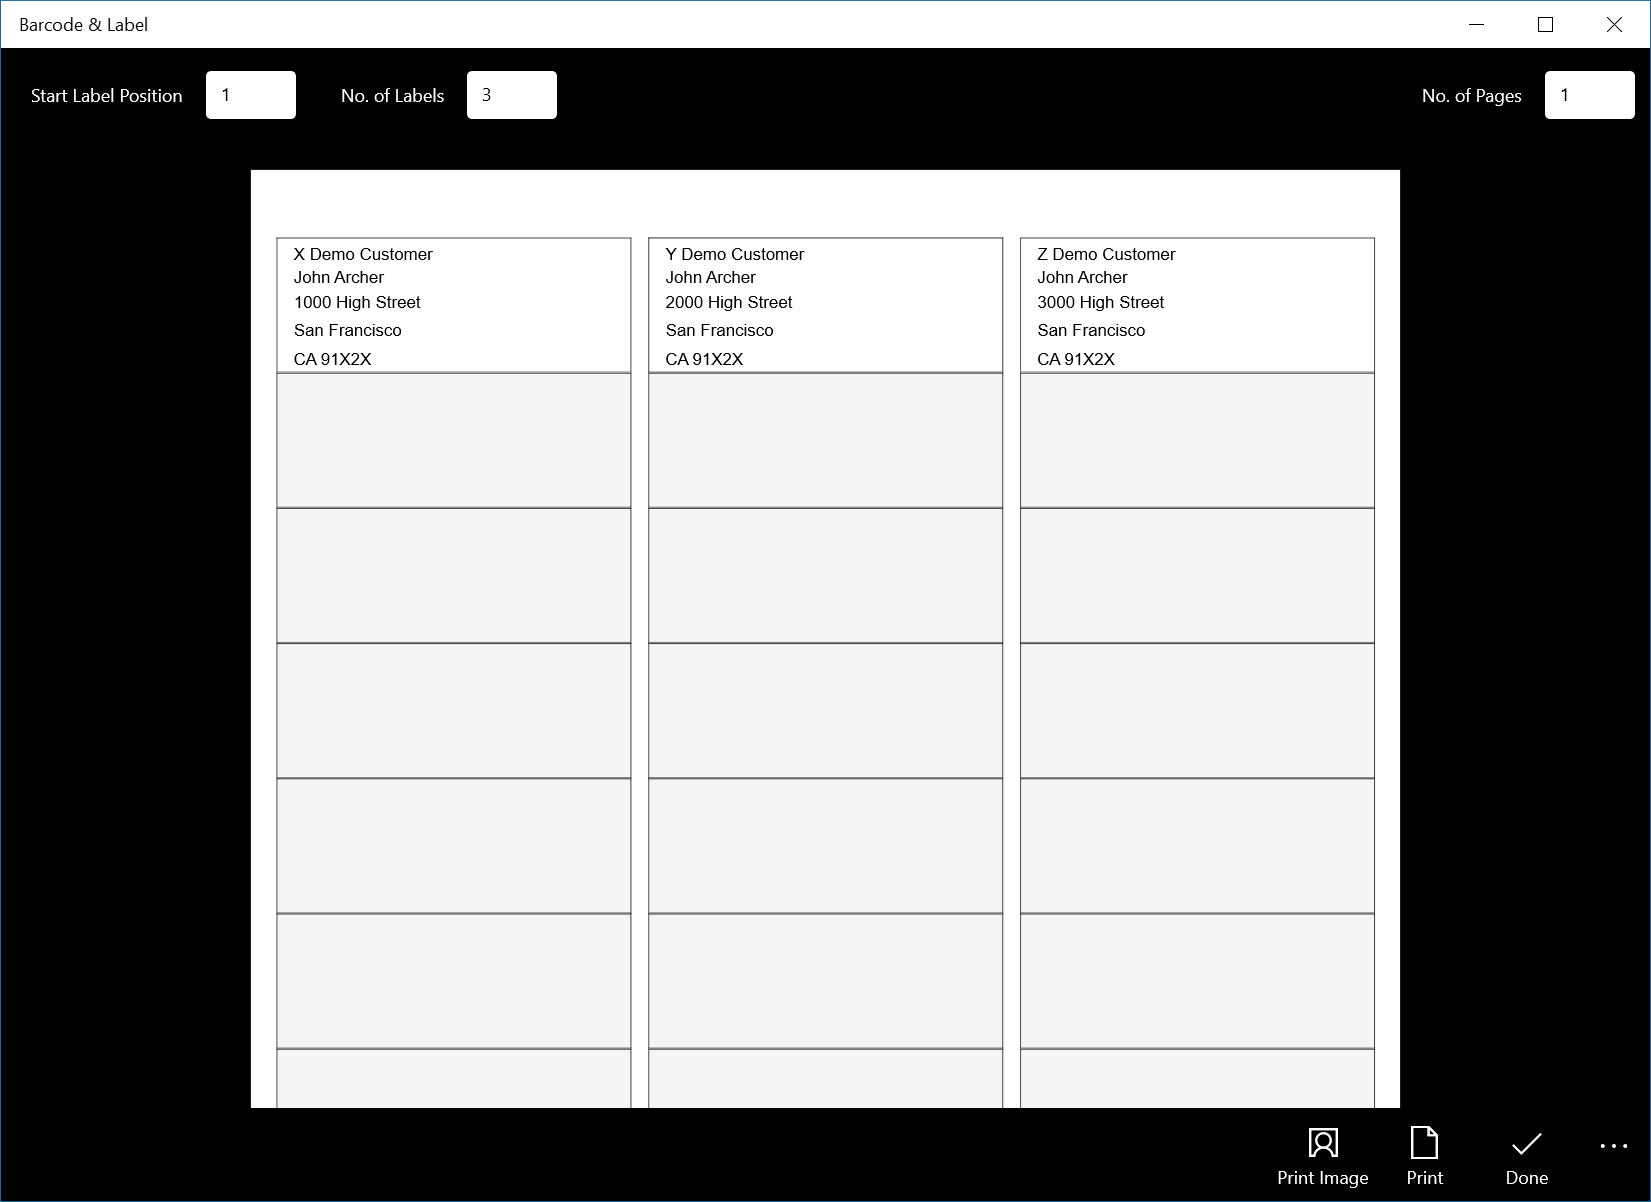
Tip
You can Save the label for reuse in the future. To refresh your CSV File, simply tap on "Setup Fields" from the top Ellipsis, select the "CSV File" Type and tap on the "Select" button to select a new CSV File. The data in the new CSV File will be imported onto the label.
