Getting Started with Invoice 360 Enterprise - Start the Self-Hosted Invoice Cloud on your Windows Desktop
The steps below illustrate how to start your Enterprise Cloud Sync Server and then use a client
app on the same PC/device to connect to the server. The first time the client app connects to the server, it would automatically bootstrap with the data available in the server. To proceed, we assume you have installed the Invoice 360 Client app and Enterprise Cloud Sync Server successfully without any problems.
1. Go to the Start Menu and locate Invoice 360 Enterprise Server.
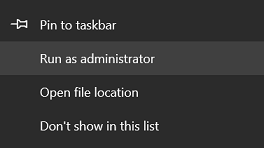
2. Right Click on the Invoice 360 Enterprise Server and select "Run as Administrator". The Server requires administrator rights to listen to a specific IP address and port.
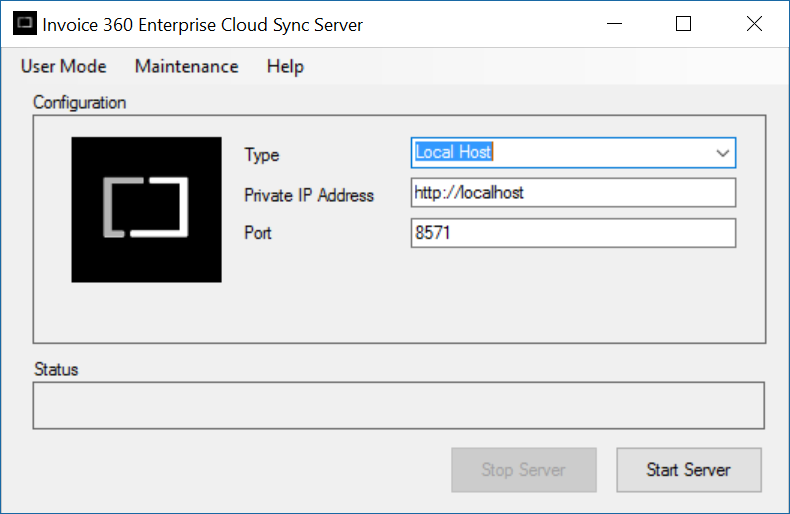
3. Use the default values provided and click on "Start Server". This would start the server on the “localhost” with port “8571”.
4. Go to the Start Menu and click on Invoice 360 Enterprise client app.
5. Select "Local" when prompted to connect to the “localhost” server.
6. Select "Yes" when prompted with "Let Invoice 360 Enterprise access your name, picture and other account info?".
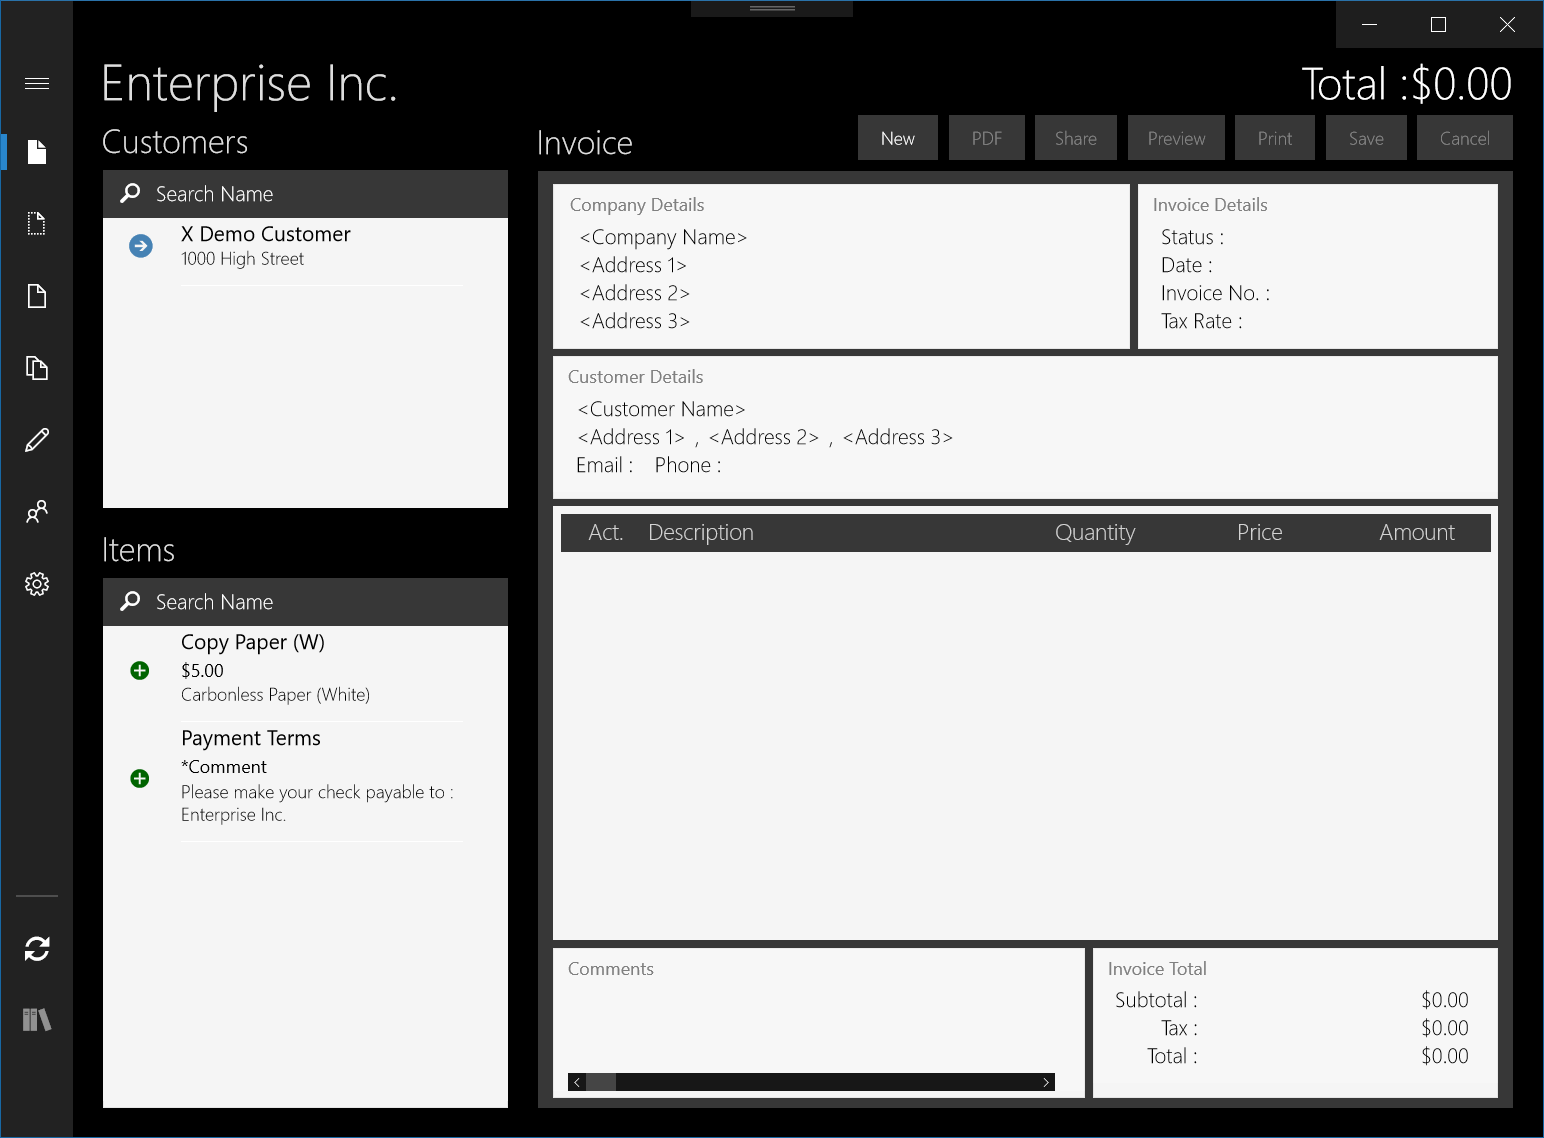
You should see the following screen that indicates the client app is ready for use.
You can now setup the company details and other information so that when another new client app connects, they can be bootstrapped with the necessary data. You can also replace the customer or inventory demo records with your own records.
Every time you made a change to the invoice or to any other records, it would be saved to your app local database. The changes would also be automatically pushed to the server if you network connection is available.
Using Invoice 360 Client app
The Invoice 360 Client app is very similar to the one available in the Windows Store today. The user interface has evolved through many iterations with many changes made based on recommendations by users who use it daily. This section provides you with a quick overview of using the client app.
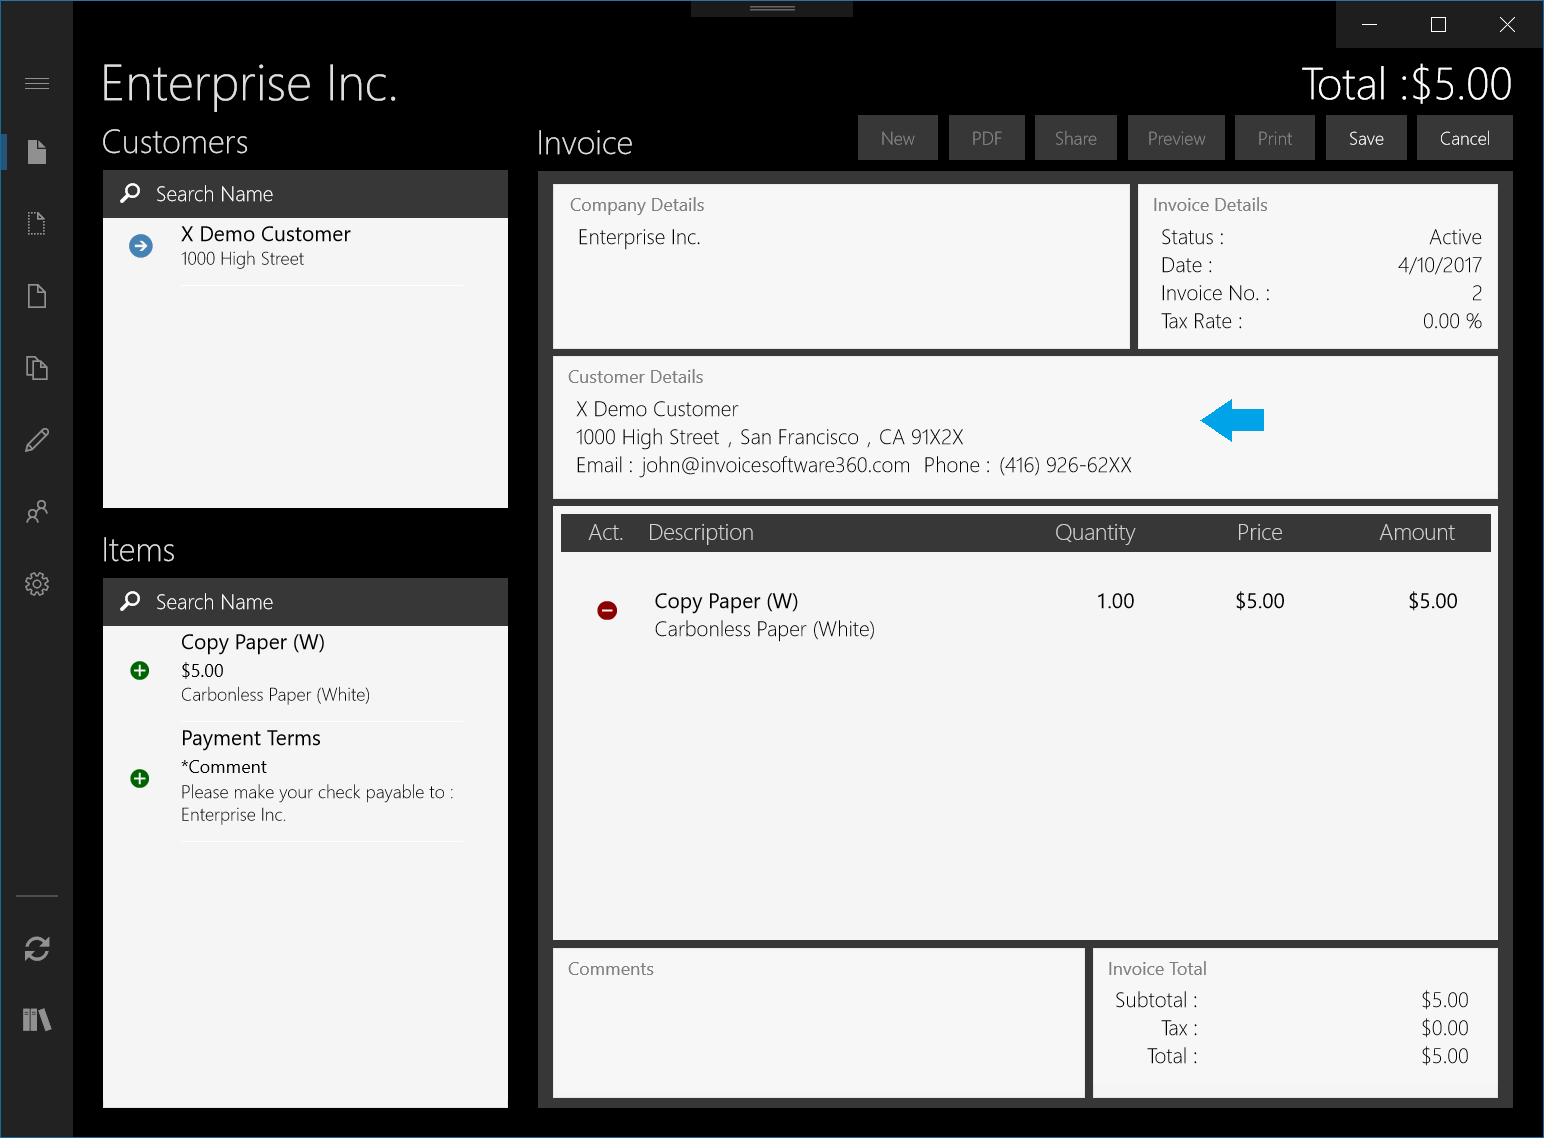
The Invoice screen as shown above is the landing screen in Invoice 360 Client app. The left-hand side of the screen allows you to select the customer to invoice and the items such as products or services that can be added to the invoice.
The right-hand side of the screen is layout to look like a physical invoice with Company Details, Invoice Details, Customer Details, Items in the invoice, Comments, and Invoice Total.
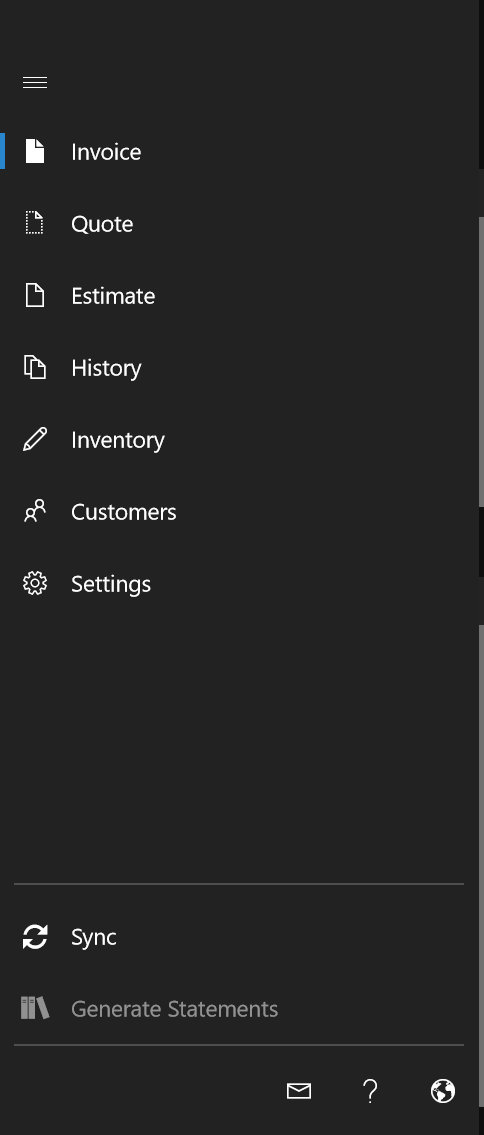
The client app consists of other screens which you can access through the Side Bar (Click on the Hamburger button or Right Click with your mouse).
Each of the different screens enables you to manage a different aspect of the invoice process.
Invoice
Quote (needs to be turned on in Settings)
Estimate (needs to be turned on in Settings)
History
Customer
Inventory
Settings
Create and Edit an Invoice
You can create a new invoice by simply selecting a customer in the “Customers” section and then adding items from the “Items” section. Notice that each time you tap on the items on the left-hand side, it is added to the invoice on the right-hand side.
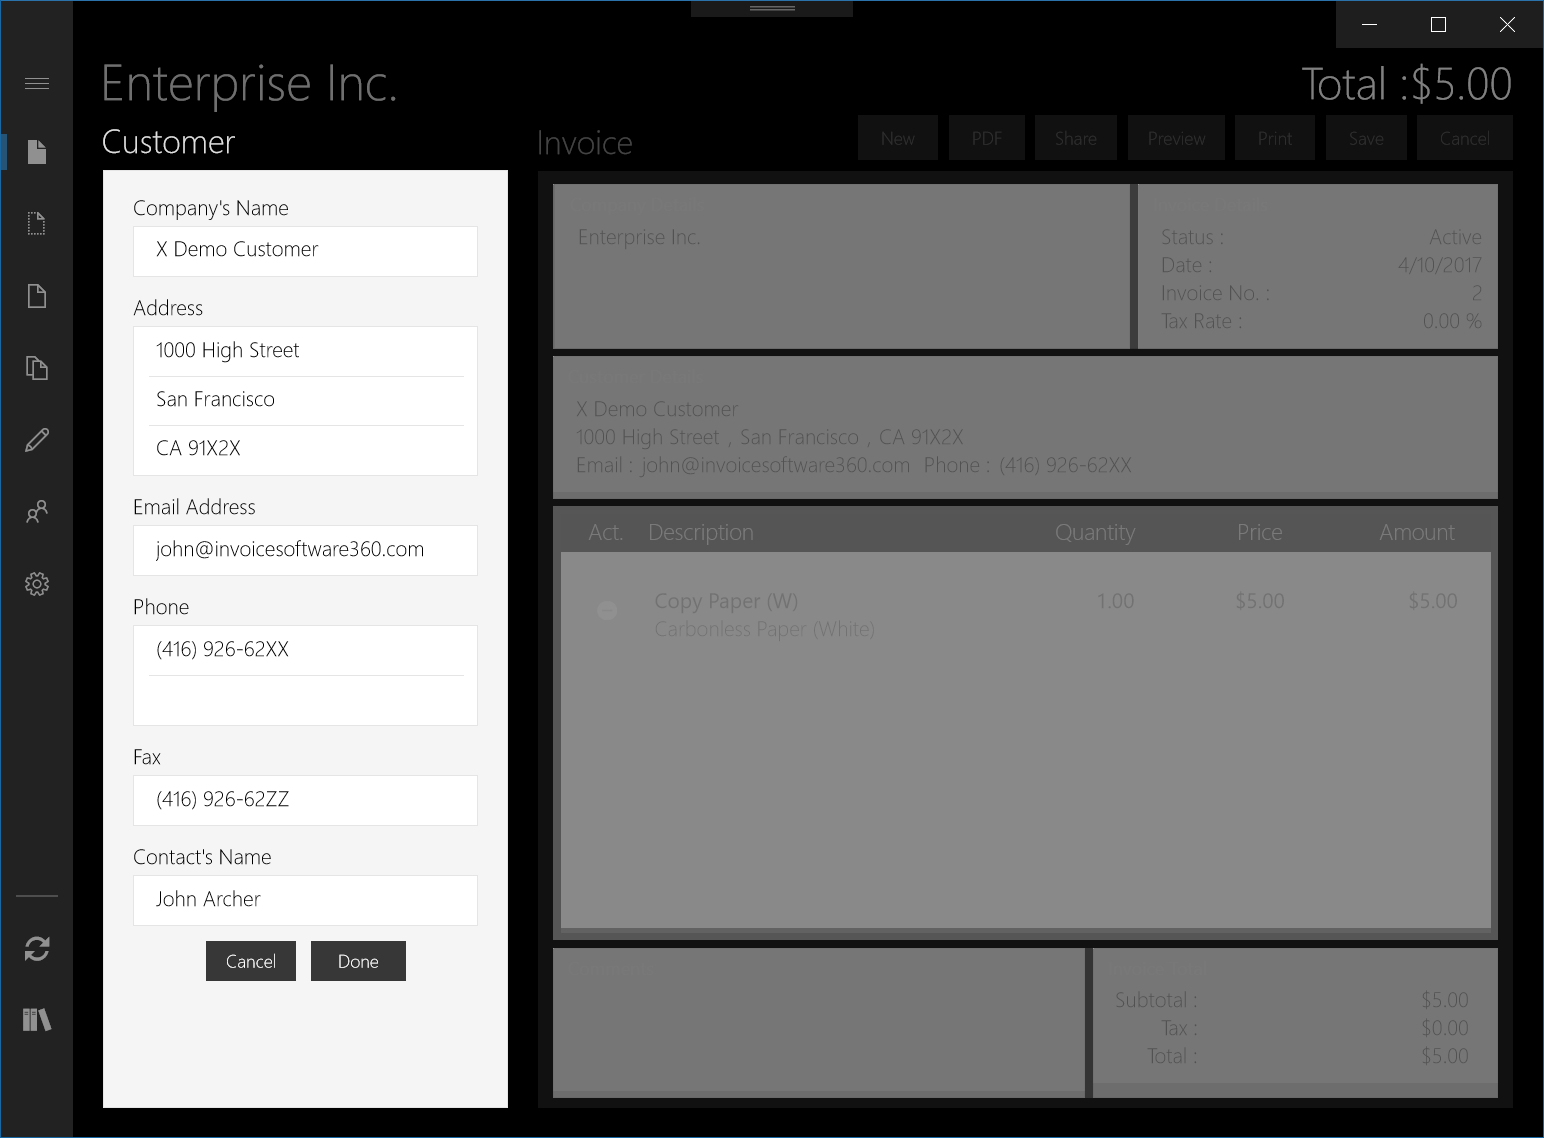
You can further customize the details of your invoice by clicking on any part of the invoice on the app. For example, clicking on the area specified by the blue arrow above allows you to make changes to the details of the customer. This is as shown in the next screen.
You can also go to the other screens such as Customers or Inventory to add new customers and items. The customers and items will then appear in the Invoice screen for selection.
More information on using the Invoice 360 Client app is also available at the following: